Showing posts with label freepattern. Show all posts

Tuesday, September 2, 2014

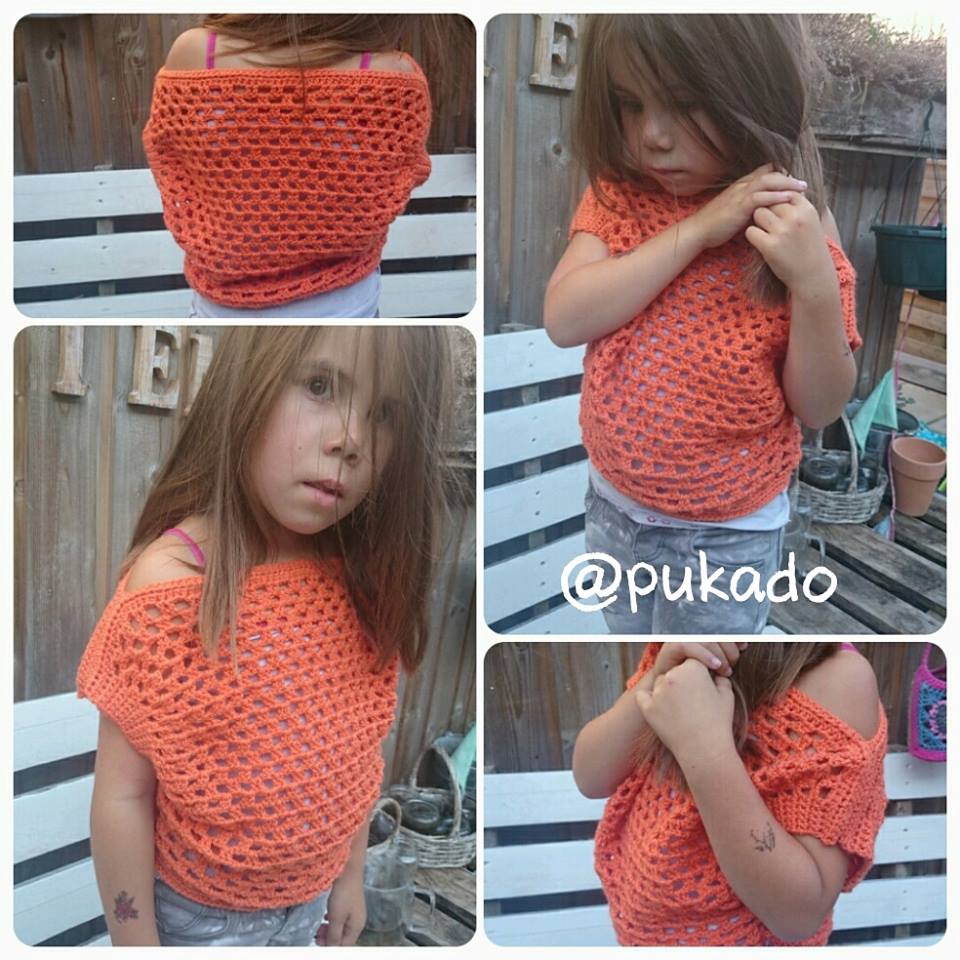
Easy Peasy Top by Pukado - Free Pattern!!

Easy Peasy Top by Pukado


10615535_689319621157294_4564717193049762984_n.jpg


A little easy pattern to make something gorgeous!

download now on Ravelry


Yarn - Stylecraft DK
Hook size - 4mm
Yarn needle to weave in ends


Gauge:
Block is 2DC, CH2
4”x4” = 4.5blocks x 8rows


Beginning chain is an even amount of stitches plus 14
13 = 5, 5, 2, 4
Where 5 is the border for the arm part
2 is the first CH2 in the row of blocks and 2 is your begin chain at the start


I chained until it was the length from elbow to elbow and then added chains to get to an even number and added my 14 extra chains.
For my 6 yr old I chained 68 plus 14 = 82
For my 9 yr old niece I chained 80 plus 14 = 94


Length of the front and back part. For the CH82 I added 22 block rows, for the CH94 I added 25 block rows. Add enough rows that it will cover the front part of your body until your diaphragm (or half way your body).


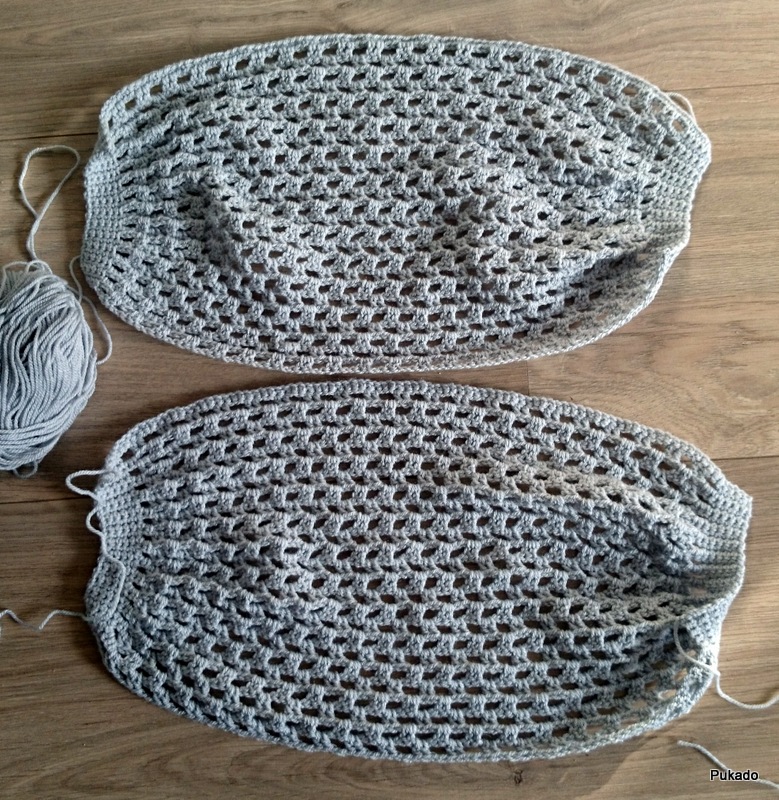
Make 2, front and back


R1, Chain the amount required, turn, HDC in each chain, CH1 and turn
R2, SC in first 5st, CH2, skip 2st, *DC in next 2st, CH2, skip 2 st* repeat until the last 5st, SC in the last 5st, CH1 and turn
R3, SC in first 5st, 2SC in first CH2Space, CH2, *2DC in next CH2Space, CH2* repeat until the last CH2Space, 2SC in last CH2Space, SC in last 5st
R4, SC in first 5st, CH2, *2DC in next CH2Space, CH2* repeat until the last 5st, 2SC in last CH2Space, SC in last 5st
Repeat R3 and R4 until you have reached the length you require

2014-08-31 08.52.28.jpg


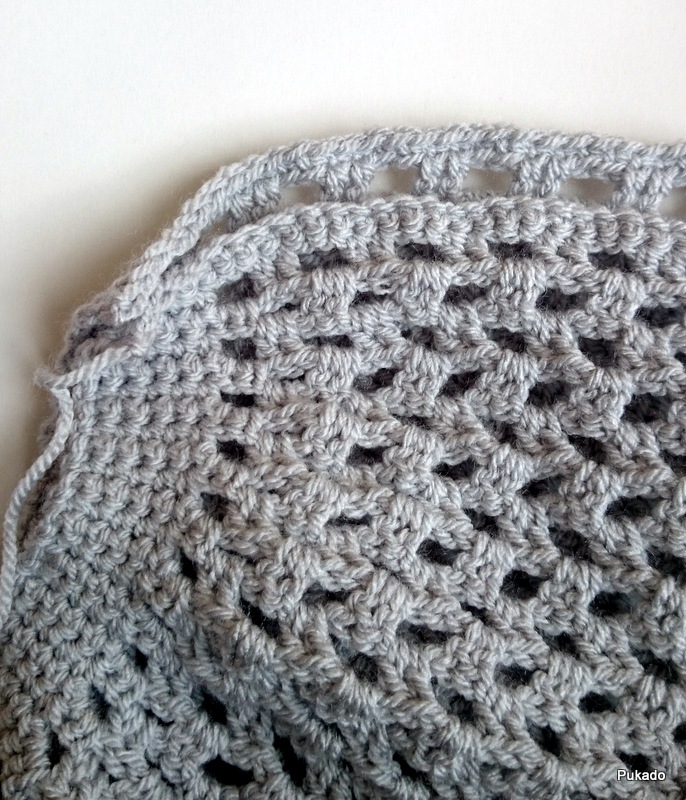
Line up both parts at R1
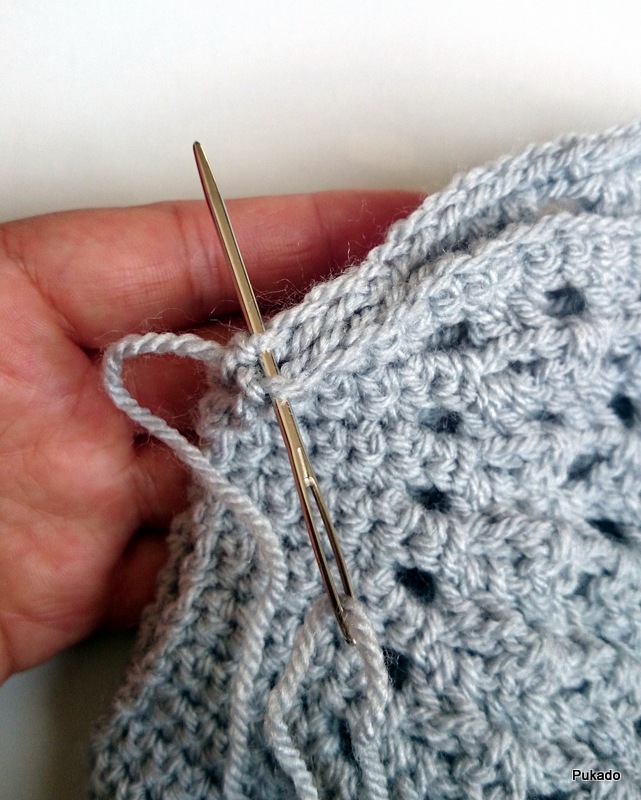
With yarn needle sew on both side the same amount of stitches together. I used the outer loops only, so front loop of front part and back loop of back part.
For the CH82, I stitched 17st together on both sides (68 divided by 4 = 17)
For the CH94, I stitched 20st together on both sides (80 divided by 4 = 20)
But you can add more stitches if you don’t want an open neckline like that.
2014-08-31 08.53.55.jpg


2014-08-31 08.54.52.jpg


2014-08-31 08.57.33.jpg


Turn it around and stitch both SC part together on the bottom with 5 stitches.


2014-08-31 09.07.48.jpg
Weave in ends
Next part you will work in the round and decreasing with 1 block on the sides every row. Decrease until it will fit the waist of the person you’re making it for.


For the CH82, I decreased 4 rows
For the CH94, I decreased 5 rows.


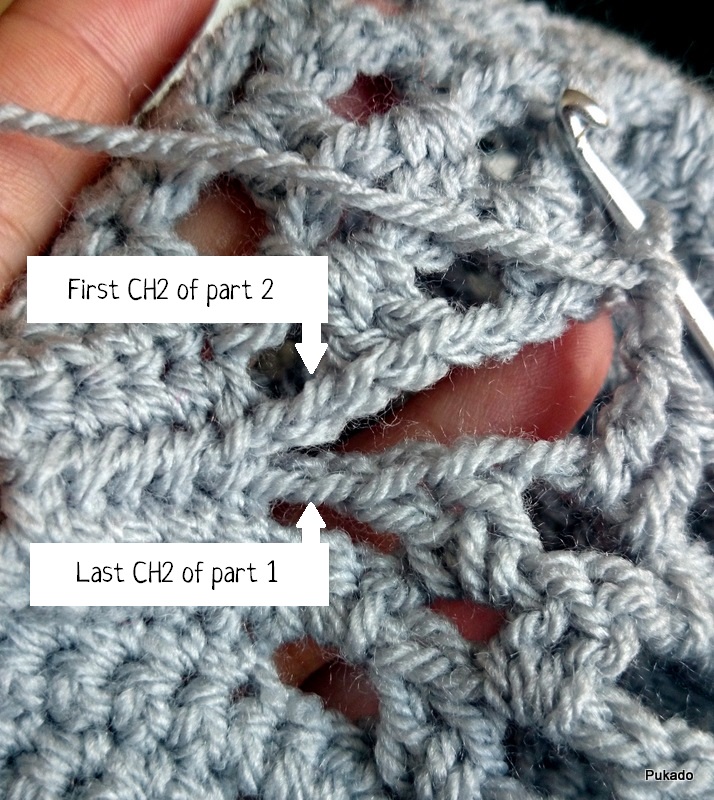
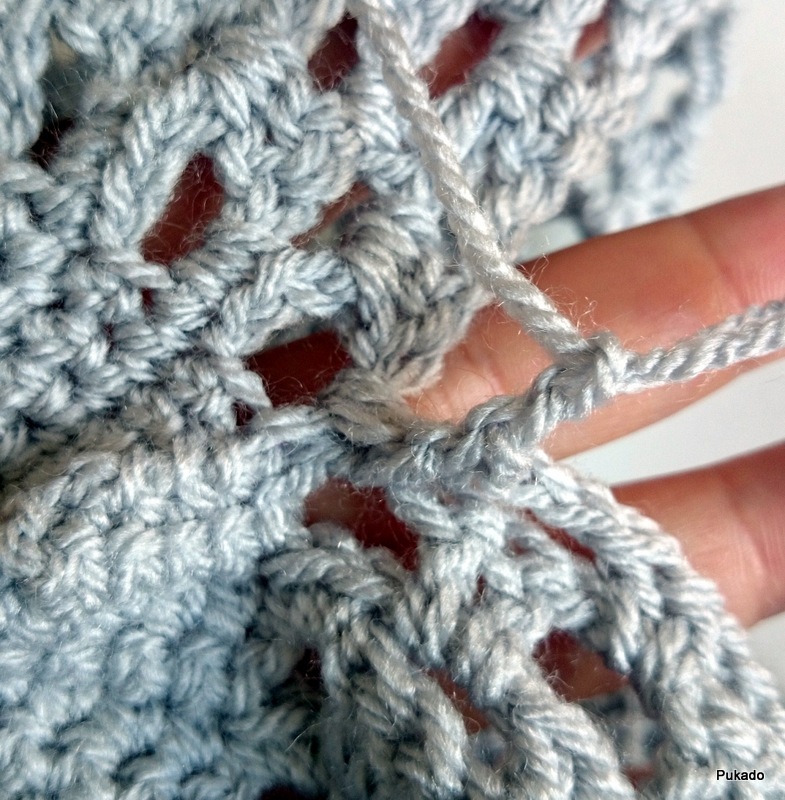
R1, SLST to a CH2Space in the middle of part 1 (only for first row), CH2, DC in same space, CH2, *2DC in next space, CH2* repeat until you reach last CH2Space, 2DC in last CH2Space of Part1 and first CH2Space of Part2, CH2, *2DC in next space, CH2* repeat until you reach last CH2Space, 2DC in last CH2Space of Part2 and first CH2Space of Part1, CH2, *2DC in next space, CH2* repeat until end, SLST to first DC, SLST into next CH2Space
Repeat R1 until it will fit the waist of the person you’re making it for.
2014-08-31 09.13.53.jpg2014-08-31 09.31.37.jpg
2DC around last CH2Space and first CH2Space


R2, CH2, DC in same space, CH2, *2DC in next space, CH2* repeat until end,  SLST to first DC, SLST into next CH2Space
Repeat R2 until you’re happy with the length. I only added 1 extra row as I wanted the top to be cropped. They will wear it with a tank top or t-shirt underneath.


Edging after you reached the desired length
R3, CH1, *2SC in CH2Space, SC in next 2st (on top of DC of previous row)* repeat around, SLST to first SC
R4, CH2, HDC in each st around.


Weave in ends


Other uses for this pattern, using only 1 part


Cowl
Just make 1 part, fold double lengthwise and stitch ends together to close it.


2014-09-02 09.55.58.jpg2014-09-02 09.58.04.jpg


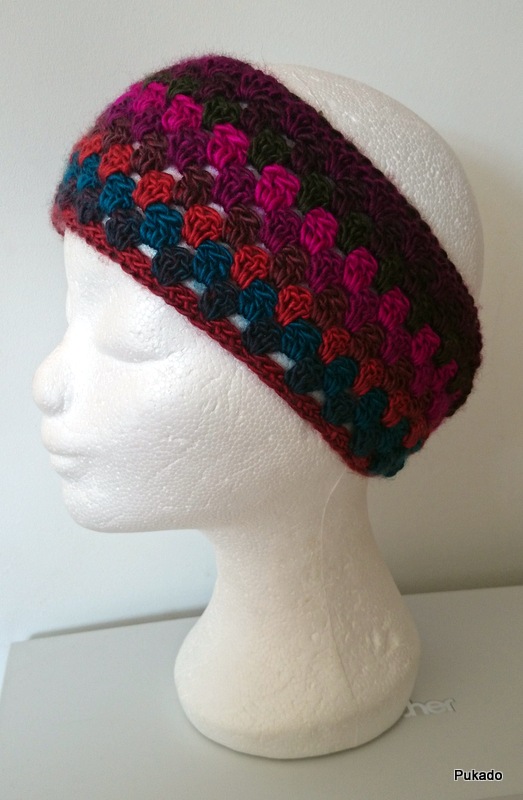
Or make a headband, Chain the amount that will fit around your head, make sure it’s and even number plus 13. Instead of HDC in first row, use SC. And edge bottom with SC, fold double lengthwise and stitch ends together to close it.
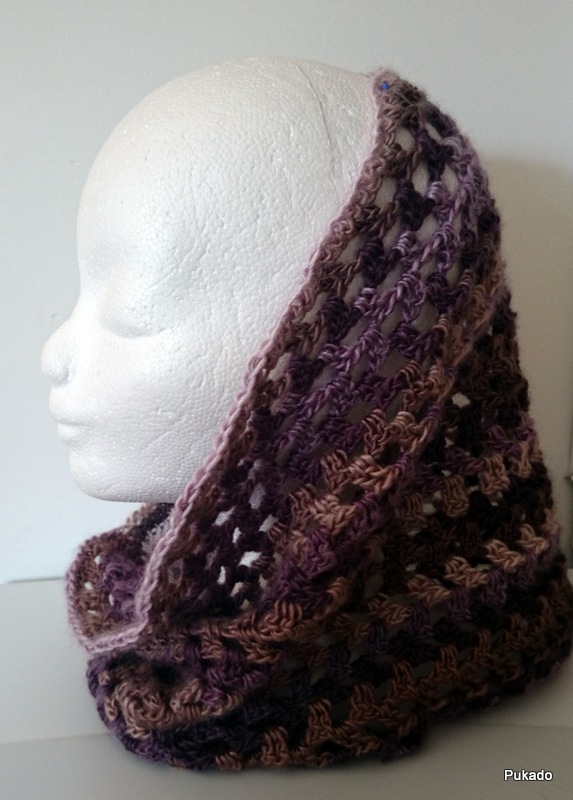

2014-09-02 09.53.54.jpg


Copyright Patricia Stuart 2014 ©.
You are free to create from the pattern and sell the creations.
Please do not copy, rewrite, resell or distribute as your own, this is prohibited.
Please give credit to my page for the pattern and if you sell finished items online,
please provide a link to my page for the pattern.
Thank you for your understanding.


Please visit my blog: Pukado - Blog
Please visit any of my shops at Etsy, Ravelry or Craftsy
FaceBook me! @Pukado
Follow me on Pinterest

Tuesday, April 29, 2014

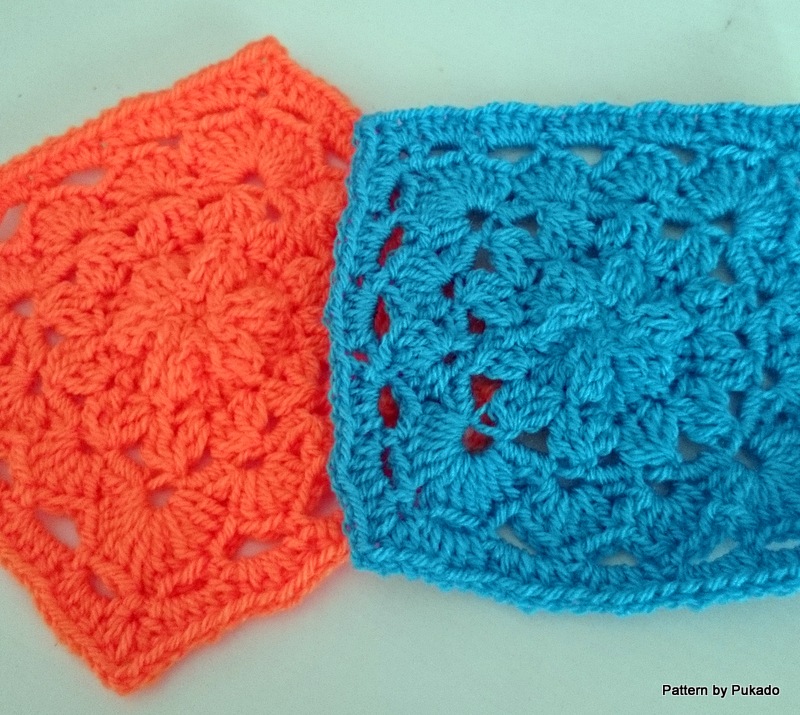
Crochet Mood Blanket 2014 May Square by Pukado


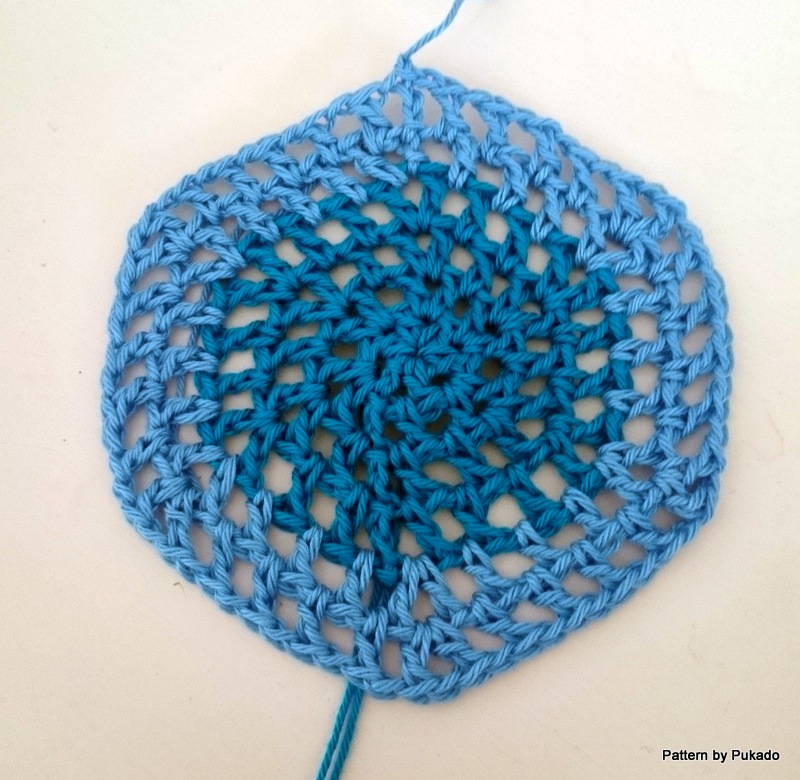
So here it is, the new square for May. Again made with an acrylic yarn from Stylecraft,  I love the vibrant color of this blue! Hook size 4.5mm.

download now on Ravelry


2014-04-29 12.09.54.jpg


I will only do the first few rows in pictures as the rest of the rows are explained in my other Square posts on my blog.


Thursday, April 17, 2014

Fruit/Market Mesh Bag by Pukado - Free Pattern

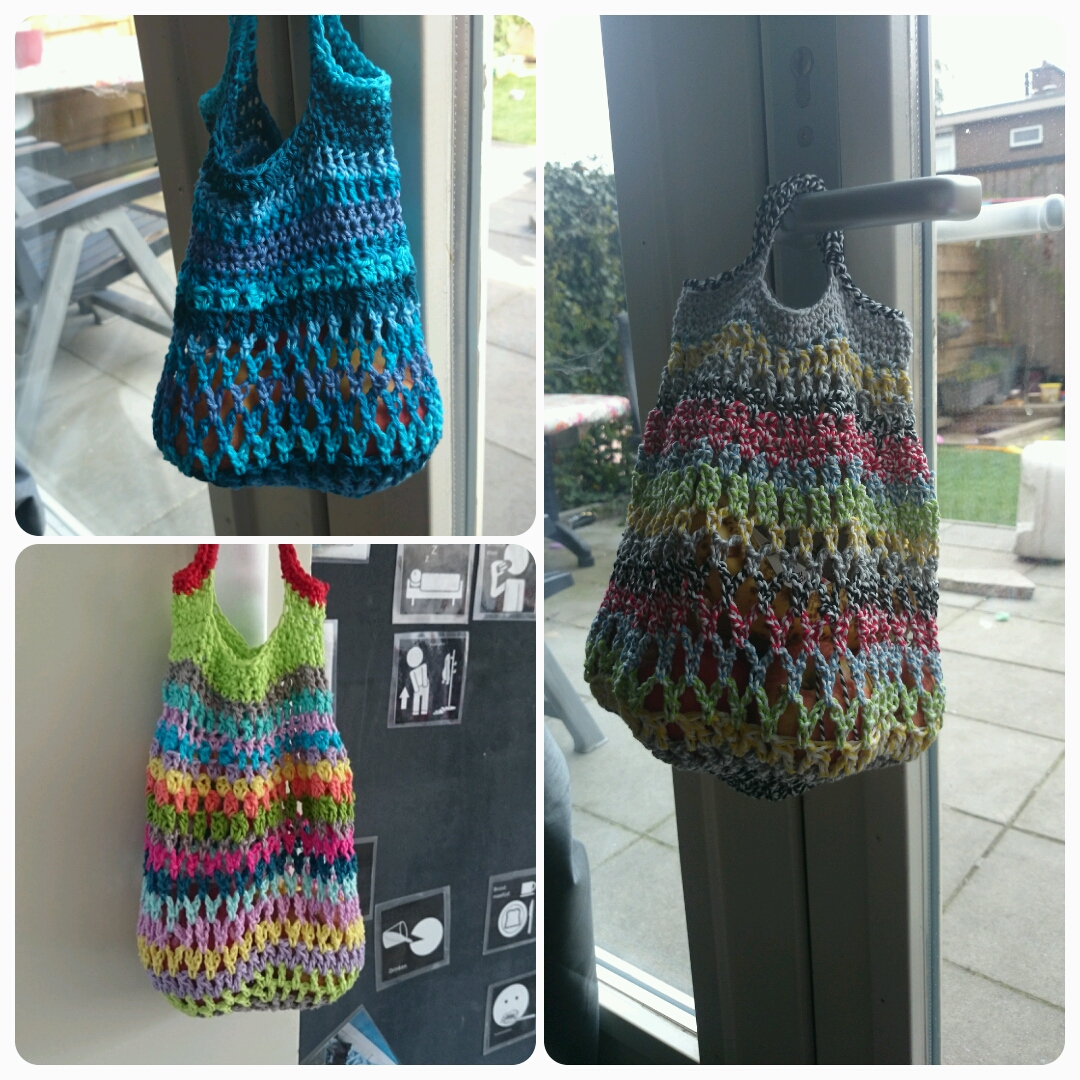
Market Mesh Bag by Pukado


20140417_132717.jpg

You can make this with any yarn and any hook size. The chunkier your yarn, the bigger the bag.


I used for the big bag:
Bakers Twine in different colors and hook size 5mm


For the small bags:
Phildar Phil Coton No3 and hook size 3 - 3.5 mm


Work in the space between stitches, unless specified other.


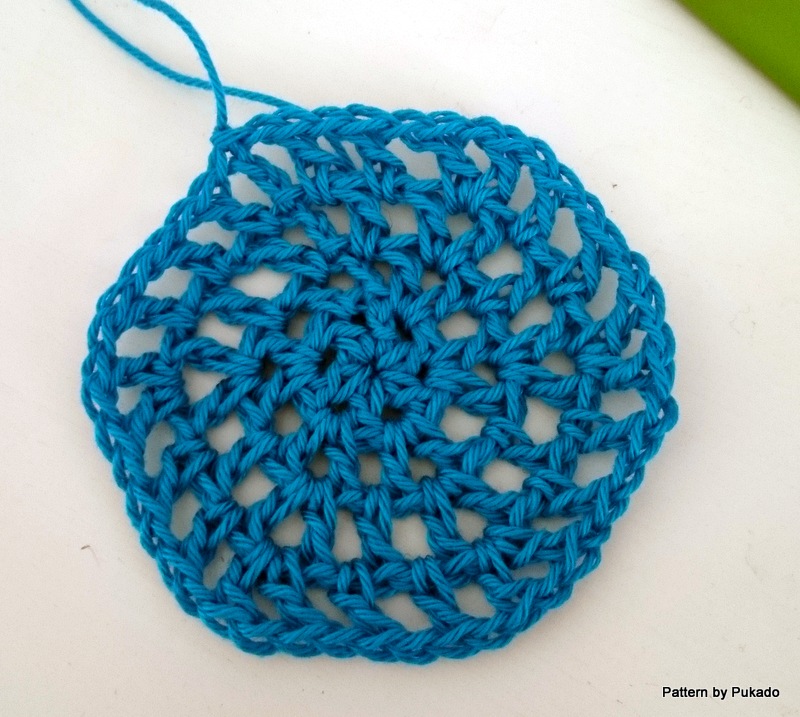
R1, Magic Circle, CH3 (counts as your first DC and CH1, will be written as normal DC, CH1 in the rest of the pattern), *DC, CH1* repeat 5 more times - 12st, 6DC
R2, *DC, CH1, DC, CH1* in each CH1Space
R3, *(DC, CH1, DC, CH1) in CH1Space, (DC, CH1) in next CH1Space* repeat around
R4, *(DC, CH1, DC, CH1) in CH1Space, (DC, CH1) in next 2 CH1Spaces* repeat around


2014-04-17 09.41.40.jpg

Change color


R5, *(DC, CH1, DC, CH1) in CH1Space, (DC, CH1) in next 3 CH1Spaces* repeat around
R6, *(DC, CH1, DC, CH1) in CH1Space, (DC, CH1) in next 4 CH1Spaces* repeat around


2014-04-17 09.50.26.jpg


Add more increase rows if you want your bag to be bigger.


Change color


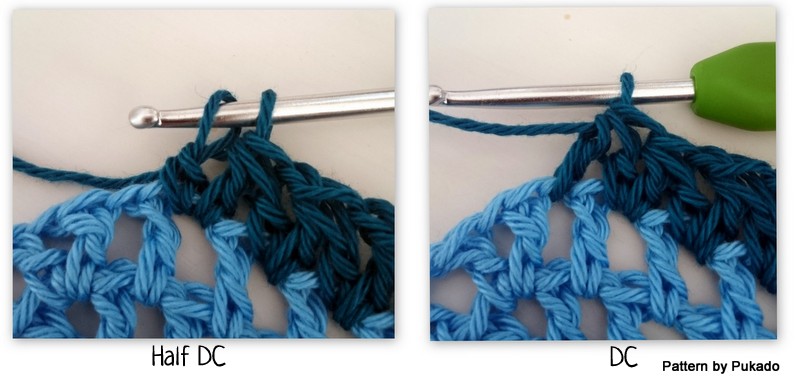
R7, CH2, DC in next CH1Space, *HalfDC in same CH1Space (keep 2 loops on hook), DC in next CH1SPace, CH1* repeat all aroundMarket Mesh Bag by Pukado.jpg
2014-04-17 10.34.30.jpg

Change color every row from now on


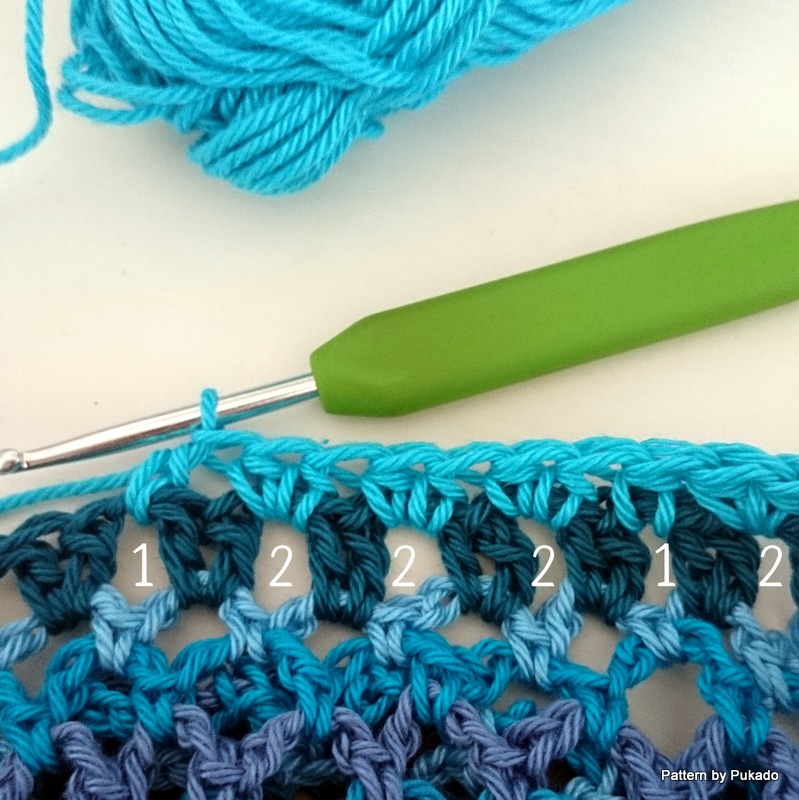
R8, *SC, CH5* in each CH1Space
R9, *SC, CH5* in each CH5Space (add row to make bag longer if prefered)
R10, *SC, CH4* in each CH5Space
R11, *SC, CH4* in each CH4Space  (add row to make bag longer if prefered)
R12, *SC, CH3* in each CH4Space
R13, *SC, CH3* in each CH3Space (add row to make bag longer if prefered)


R14, *2DC, CH1* in each CH3Space


Add more rows if you prefer bag to be longer


R15, 2DC in each CH1Space


If you would like the opening wide at the top, continue with R19, be sure to repeat R19 3 more time to keep the length of the bag.


R16 *2HDC in between next 3 DCclusters, HDC in between next* repeat around


2014-04-17 11.13.36.jpg


If you would like the opening wide at the top, continue with R19, be sure to repeat R19 2 more time to keep the length of the bag.


R17 *2HDC in between next 2 HDCclusters, HDC in between next 2* repeat around


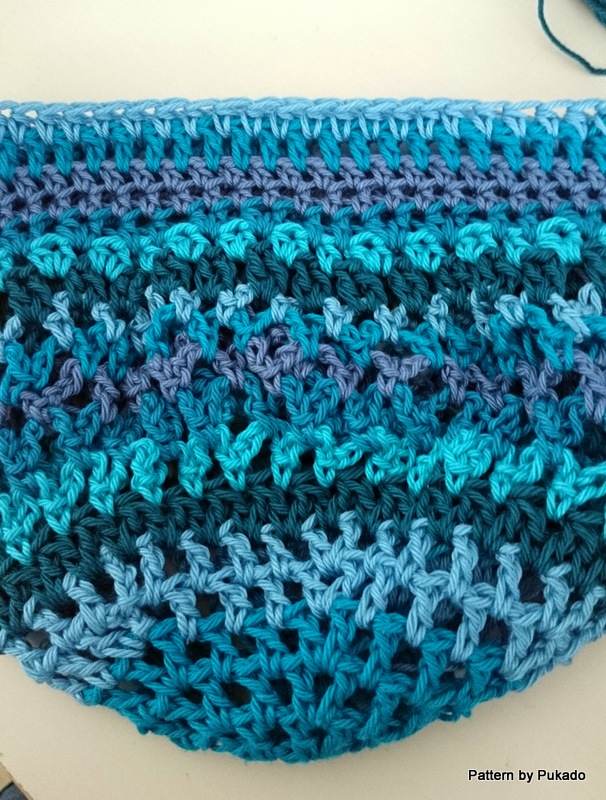
If you would like the opening wide at the top, continue with R19, be sure to repeat R19 1 more time to keep the length of the bag. As in the photo


R18 *2HDC in between next HDCclusters, HDC in between next 3* repeat around


R19 HDC in each st around


R20, DC in each space around


R21, HDC in each space around


R22, SC in each space around


2014-04-17 11.28.56.jpg2014-04-17 11.46.37.jpg


R23-R24, HDC in each st around


R25, Count your stitches, divide by 4.


For example, the blue bag I have 55 stitches at R24, as 55 can’t be divided by 4, I add a stitch and make it 56 = divided by 4 is 14.
For the color bag, I had 45 stitches, I removed a stitch at R24 to make it 44 =  divided by 4 is 11.
For the bakers twine bag I had 40 stitches = divided by 4 is 10.


For the handles I add half of a quarter of the stitches  to the handle Chain.


HDC in next 14 st, CH21, skip 14st, HDC in next 14st, CH21, skip 14st, SLST to first HDC.
HDC in next 11st, CH16, skips 11st, HDC in next 11st, CH16, skip 11st, SLST to first HDC
HDC in next 10st, CH15, skip 10st, HDC in next 10st, CH15, skip 10st, SLST to first HDC


R26, SC in next 14st, 21SC around chain, SC in next 14 st, 21SC around chain
R27, SC in next 14st, 21SC around chain, SC in next 14 st, 21SC around chain, join with invisible join.


2014-04-17 12.39.50.jpg2014-04-17 12.54.35.jpg


weave in ends, your bag is finished.


Copyright Patricia Stuart 2014 ©.
You are free to create from the pattern and sell the creations.
Please do not copy, rewrite, resell or distribute as your own, this is prohibited.
Please give credit to my shop for the pattern and if you sell finished items online,
please provide a link to my blog or facebook page for the pattern.
Thank you for your understanding.


Please visit my blog: Pukado - Blog
Please visit any of my shops at Etsy, Ravelry or Craftsy
FaceBook me! @Pukado
Follow me on Pinterest