
I don't like working in continuous rounds, because of the weird end and changing colors are never smooth when working in continuous rounds.
I'm too lazy to join each row with an invisible join, weave in ends and randomly start another row some where else. Too much hassle. It will tho give you the best looking hat!
Normally I work my rows in the round and start every HDC row with a CH1 and DC rows with CH2 and then SLST to the first HDC/DC of the row to minimise my seam. But working on some baby hats this week, the seams were like ELEPHANTS in my imagination. They were so noticeable, in your face, there. I just shuddered every time I came back to the first stitch to see that seam become bigger and longer every time.
So I was going to solve the problem!! That's me.. I'm a Gemini...
Remember that Gemini are just a little neurotic! Well, maybe a lot more then just a little, but they tend to live off people's nerves. If they have something ticking over in their minds they find it impossible to sleep until the problem is solved.
Yes, I use that excuse often :)
So I think I crocheted enough rows to make 20 hats in the last 2 days, just to get the right joining stitch! Because something might look good in one row, but 10 rows later it's not quite what you wanted. So rippppp and start over!
Once I had the basics of my joining stitch written down, I crocheted again enough rows to make 20 hats again for the pictures! So a lot of rows have been made and only one baby hat was the result. But I'm really happy with the result!
There are a couple of methods to joining your rows:
 1. Begin your row with CH2/CH3 and join your row to the chain at the end.
This does not make a nice seam. Big gaps and if my seam is an elephant, this one is an argentinosaurus!
2. Begin your row CH2/CH3 and SLST to first ST (HDC, DC) of your row.
This will give you a nicer seam, at least the big gaps from method 1 are gone. But it will leave you with bulky seam.
3. Begin your row with a decreased Chain, CH1/CH2 and SLST to first ST (HDC, DC) of your row.
This is the one I used before the most and yes the seam is nice and not so bulky. I would recommend this joining, if you don't want to try out my new technique :) see picture at the side. It's almost invisible.
So what's my big invention? To create the body of the stitch in the last stitch of your row. It sounds weird but once you get it, it's simple!
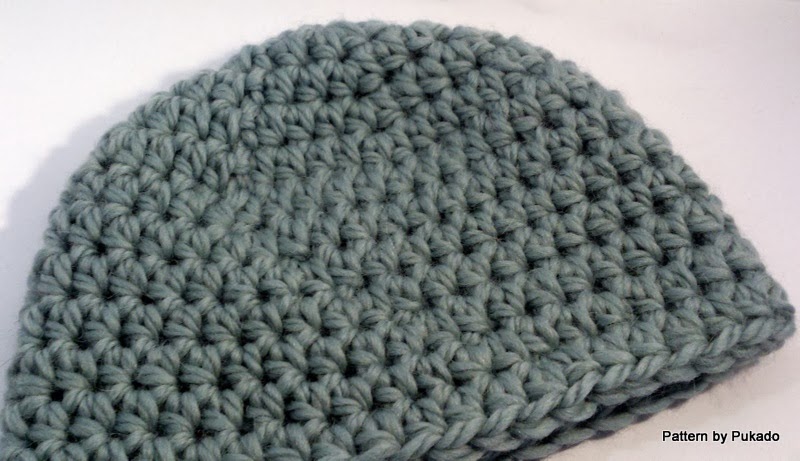
This is what my baby hat looks like now!

As an example I used white to show you how the stitch works.

Ok let's get down to business!
PDF FILE Download of this blog post available here!
HDC Joining:


Here is the DC version:


Please let me know, if it's working for you! I'm very curious!!
Copyright Patricia Stuart 2014 ©.
You are free to create from the pattern and sell the creations.
Please do not copy, rewrite, resell or distribute as your own, this is prohibited.
Please give credit to my shop for the pattern and if you sell finished items online,
please provide a link to the shop (www.pukado.etsy.com) for the pattern.
Thank you for your understanding.
Please visit my blog: Pukado - Blog
FaceBook me! @Pukado
Follow me on Pinterest
Thank you so much for this great idea, my hat seams are hardly noticeable yay! Do your seams on the inside spiral around, or am I doing something wrong?
ReplyDeleteHi! Thank you! Yes there is a seam on the inside of the hat. I have not found a way yet to hide that!
ReplyDeleteHi Patricia. . . your cap has a spiral seam, very easy to fix . . .when joining, pull your wool just a tad bit tighter and you'll be pleased with the results. . . it just goes very straight !!
ReplyDelete